How to Draw a Human Eye Step by Step Easy TUTORIAL
Hey everyone! This tutorial will hopefully help you to draw a realistic middle. If you desire a more in-depth video tutorial for this process, but click hither to exist notified when information technology's ready!
Drawing tools:
• Full general's Charcoal Pencil 6B
• Mechanical Pencil with HB and 4B pb
• Tombow Mono Zilch Eraser
• Posca Paint Pens (White 0.7mm)
• Old makeup brushes for blending
Quick announcement - EmptyEasel has created a quicker, easier way for artists to have their own art website. Click here to learn more and get a unproblematic fine art website of your own!
Here's how to depict an eye
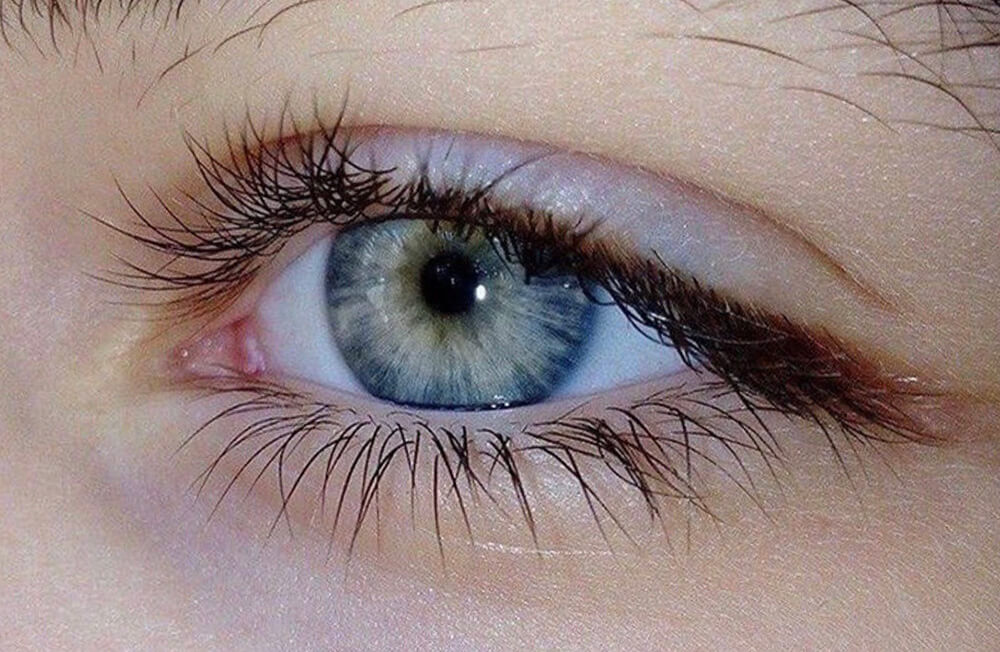
Outset, make sure you accept a reference photograph, like I did:
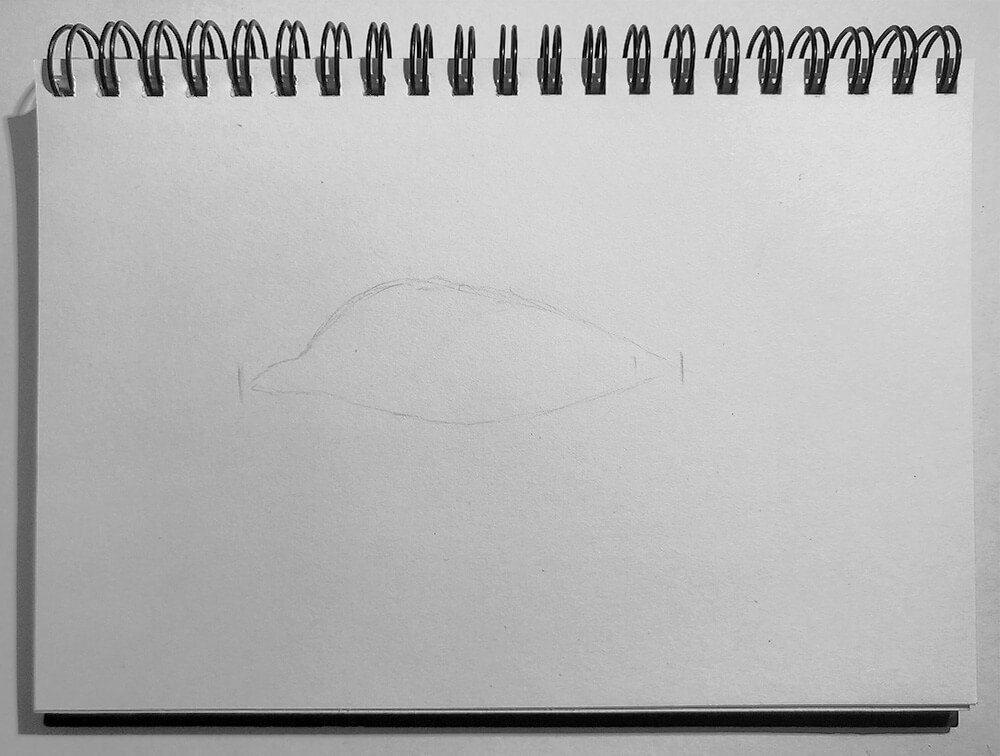
Then to outset your drawing, lightly sketch an outline of the center. Information technology always helps me to depict little markers on the left and right, where the drawing is going to start and terminate—and I ever resize my reference pic to be the exact size I want to draw, so I can exist sure of getting the correct proportions.
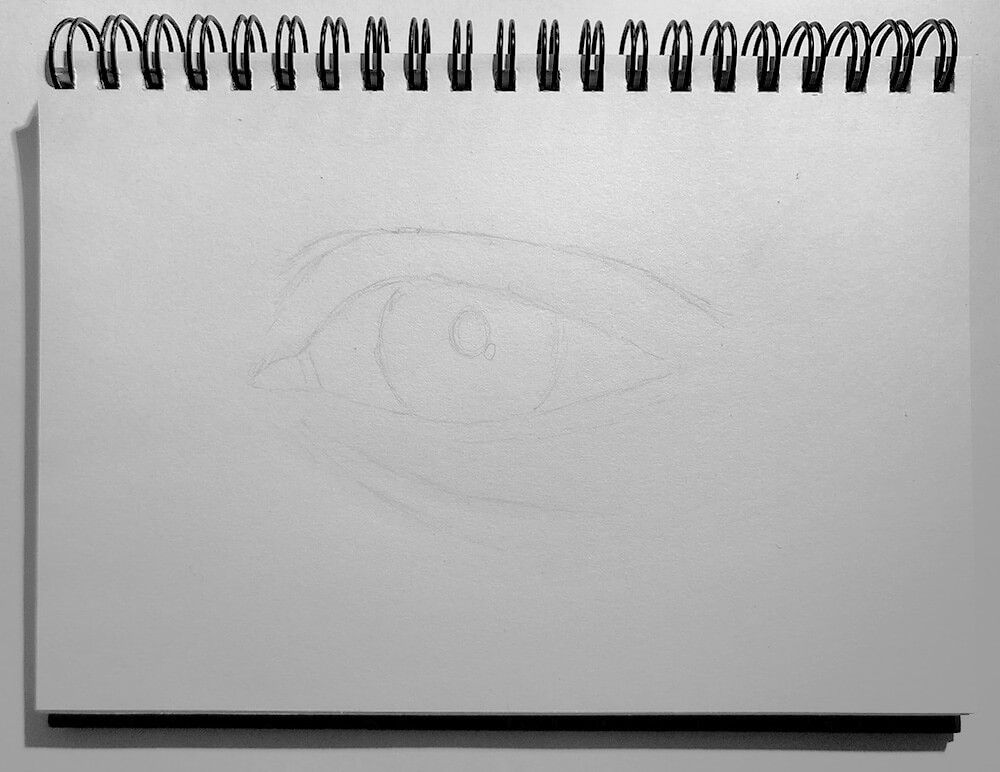
Once the central function of the middle is drawn, I add in the residual of the outlines, including the tear duct, eyelid and eye numberless.
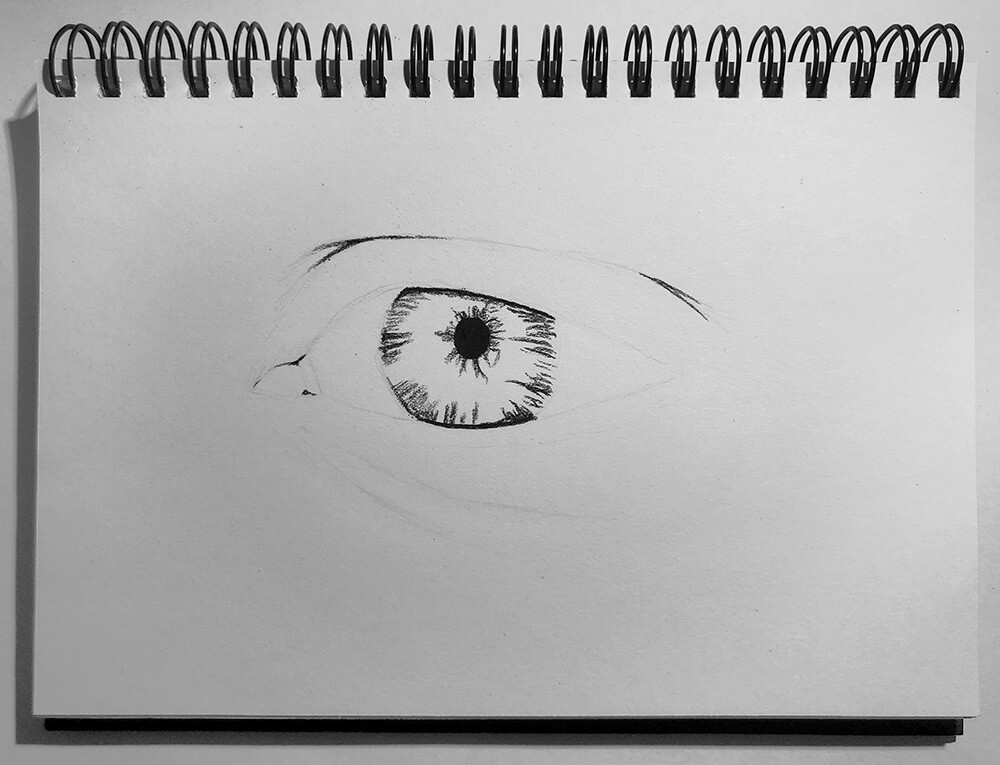
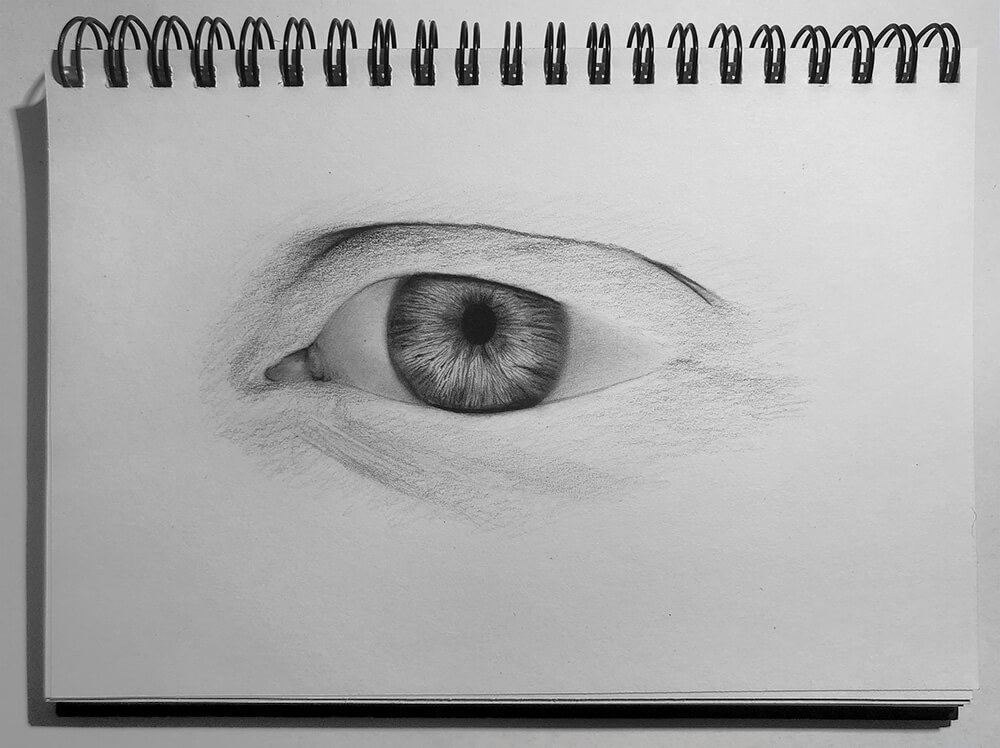
Then I like to go in with a charcoal pencil and put charcoal but in the areas that I want to be the darkest: in the eyelid crease, the shadow under the eyelid, and the student and around the iris.
Make sure you only do this carefully, equally it is very difficult to erase afterwards you've put down the charcoal.
And then I shade the whites of the eyes. This part of the centre is never completely white; they practise have shadows and dimensionality to them.
For this particular eye, the area next to the tear duct is slightly darker and the opposite corner of the eye is even darker as they are looking slightly down and there is a shadow cast by the eyelashes.
NOTE: I likewise composite the charcoal and pencil using a minor brush. When blending, yous desire to do it gently and non completely disrupt what you lot've put downwards, so just use a light mitt and stay inside the lines.
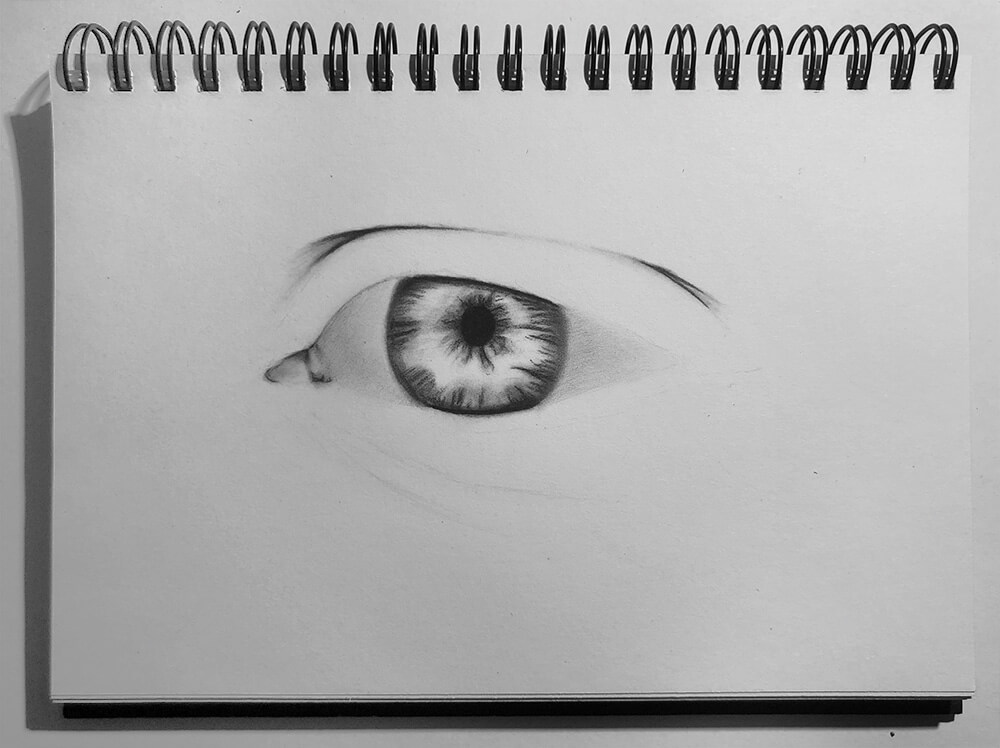
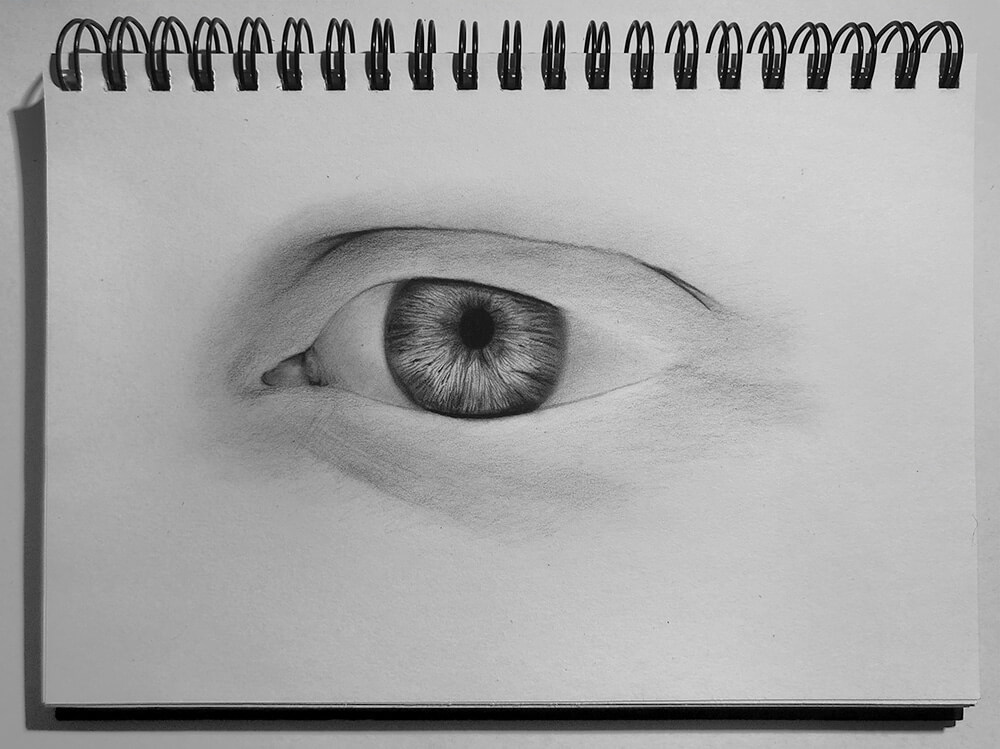
Then I shade the tear duct. It is ordinarily quite dark, only it is very reflective, which we will illustrate in one case we add the white highlights at the end. I also begin calculation details to the iris, which is ordinarily darkest around the educatee and around the circumference of the iris.
To fill in the iris I draw unlike kinds of lines (similar spokes) extending out from the pupil—some squiggly lines, some that extend all the way to the edge of the iris and some that start and end in random places.
I fill up upward the bulk of the space with those lines and add some black spots. There's not actually a "formula" for doing this—all eyes are unique and have little irregularities and that's what makes them so fun and interesting to draw.
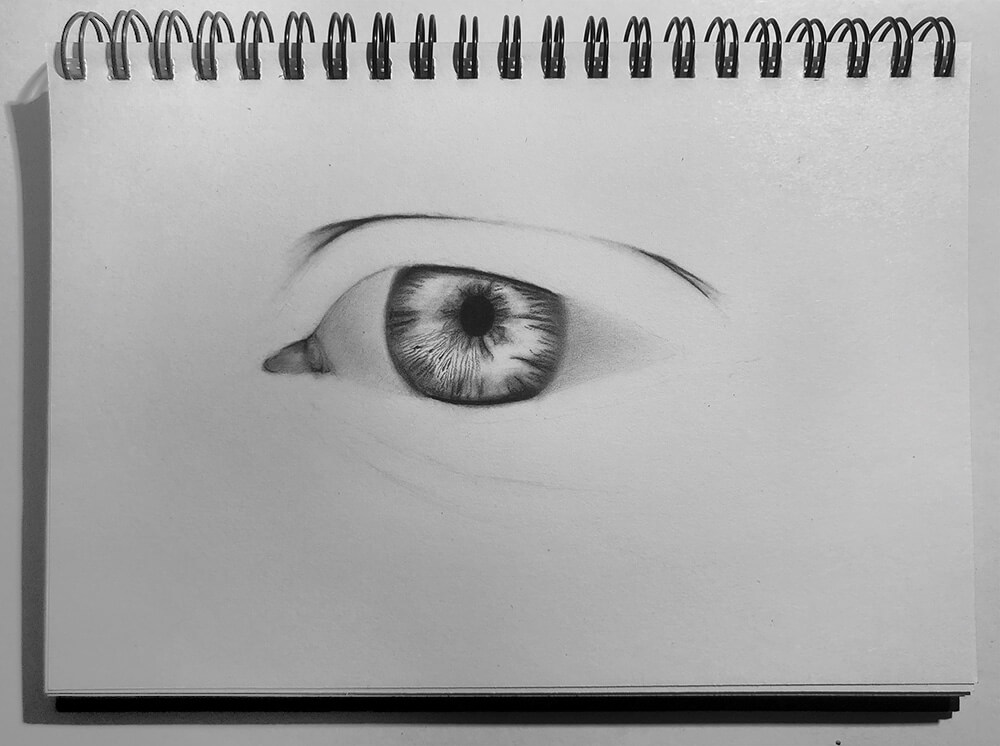
Then I lay downwards a base shade for the skin. Start light with a HB pencil.
Next I'll establish some shadows using a 4B pencil—deepening the eyelid crease, the shadow at the edge of the heart and eye bags.
Here I've blended the shadows with a brush You could also use a tissue or cotton bud.
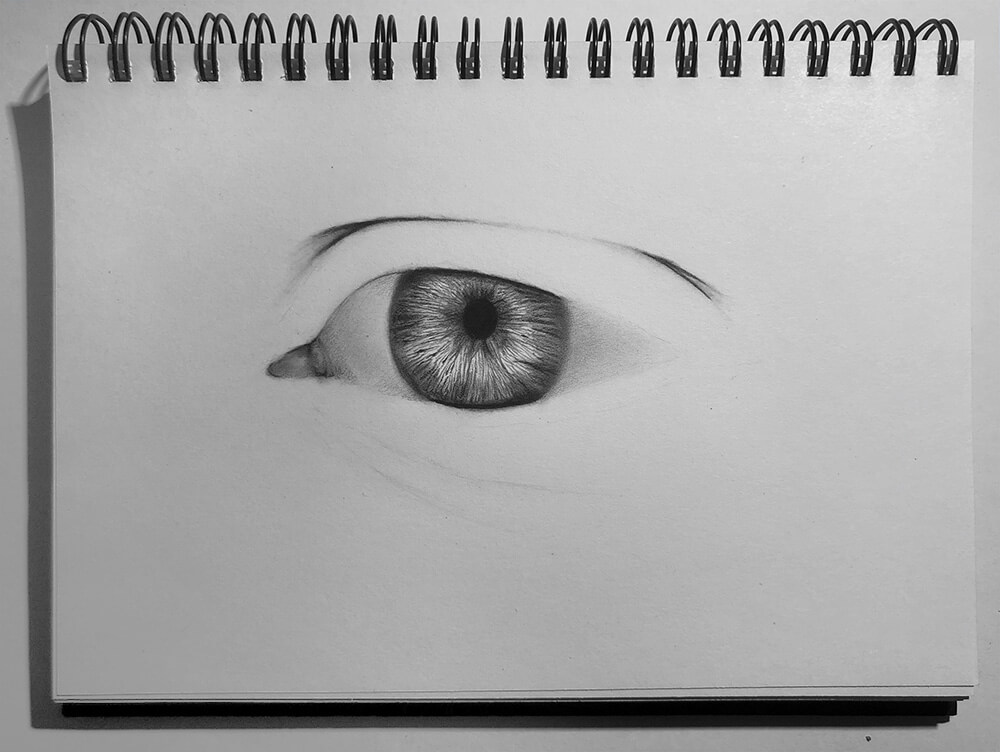
And then I constitute the top and bottom water lines with a slightly darker shade and alloy.

For the eyelashes I utilize a 4B pencil. To create the eyelashes, start at the root and "flick" your pencil pb off the folio as you draw so that the eyelash is thinnest at the tip and thickest at the root.
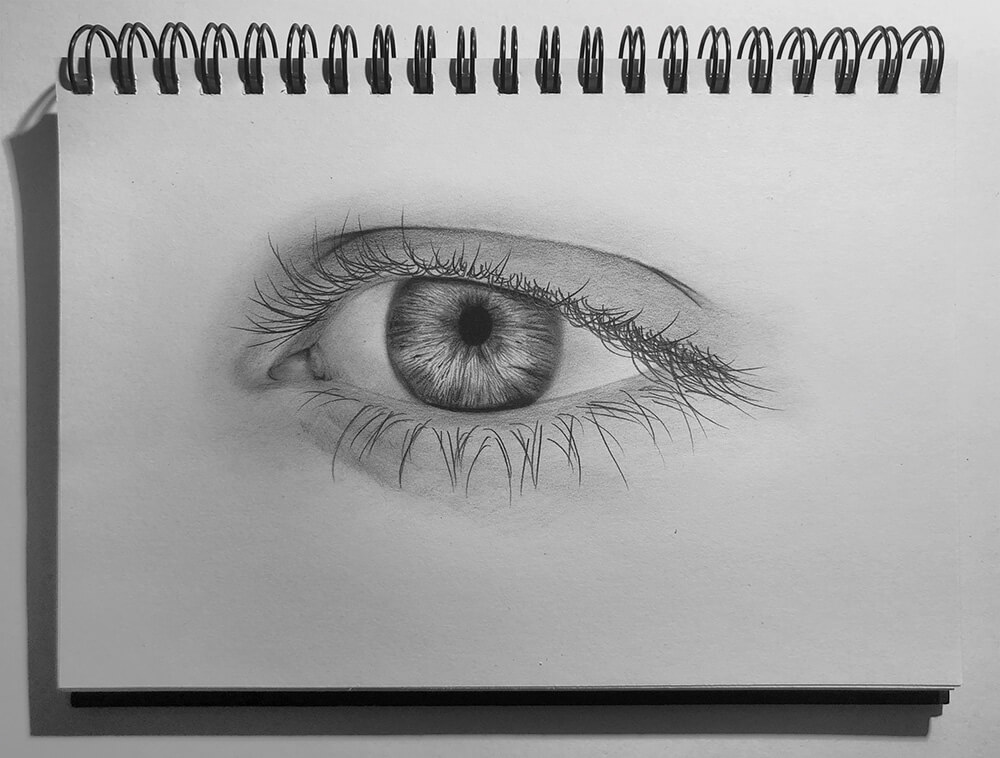
Direction is likewise important—eyelashes don't all go in the same direction; some are random just for the almost part they follow a pattern. In this case, the top lashes bend up towards the left and as you go towards the border of the eye will begin to bend up towards the right.
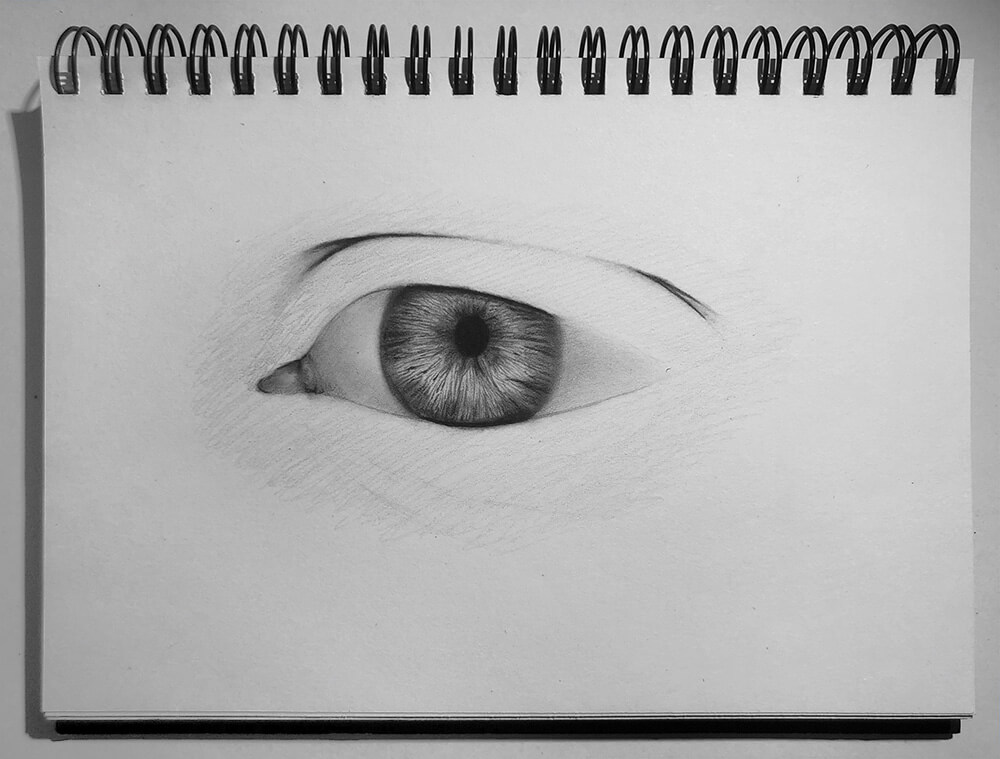
And then I like to create some skin texture and highlights using a Tombow Mono Zero eraser. I add highlights to the eyelid and tear duct area where the light naturally hits.
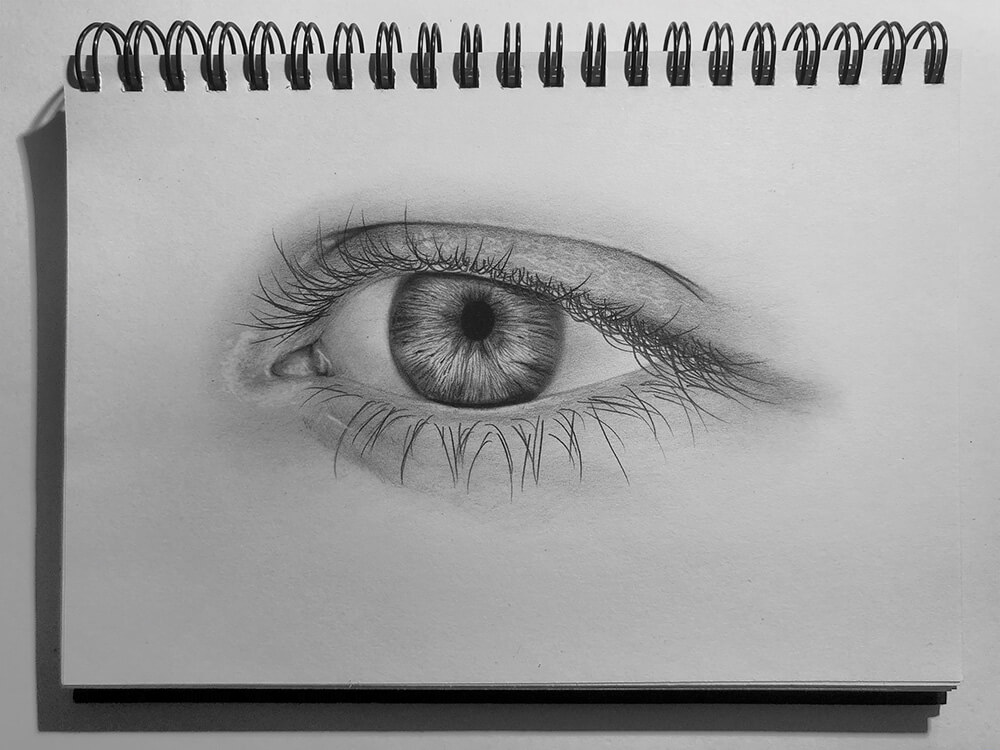
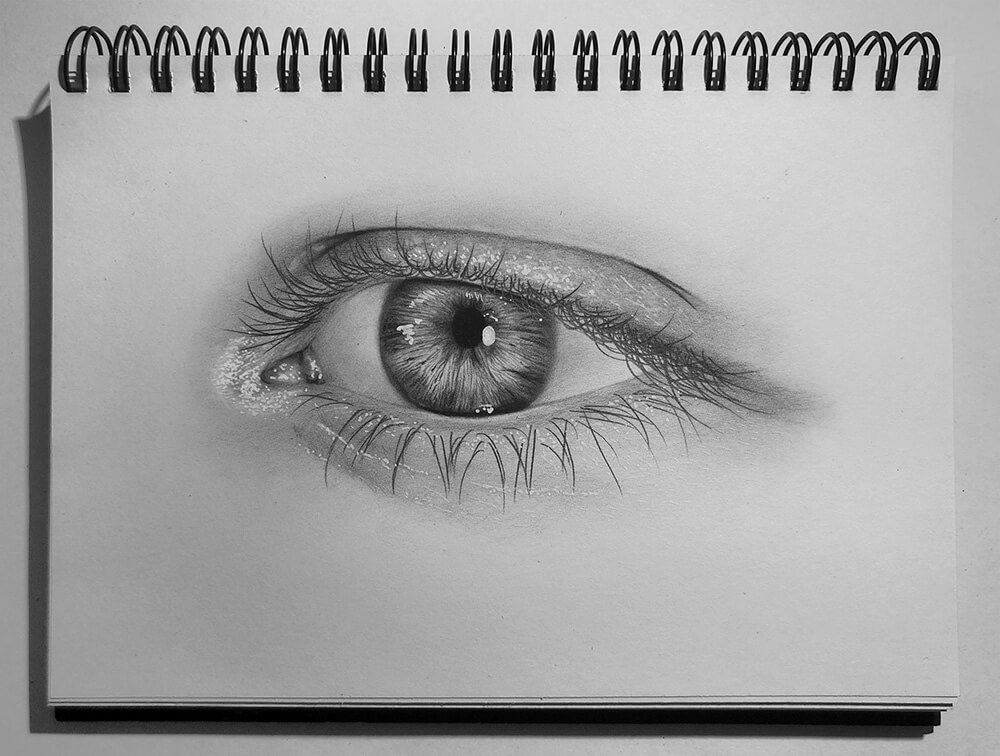
And finally, I add the brightest highlights using a white Posca paint pen. This step ordinarily takes the drawing from "normal" to very realistic.
I focus on the eyelid and the tear duct, and add reflections on the iris. I use a stippling technique around the tear duct and on the skin to resemble the look of skin and its footling bumps and reflections.
I hope y'all've enjoyed this tutorial. . . don't forget to sign upward to be notified when the total video tutorial is ready!
Special thanks to Sam Cooper (@justsomedrawingzz) for sharing this tutorial! To run into more amazing drawings by Sam, please visit instagram.com/justsomedrawingzz.
![]()
Annotation: You may also exist interested in EE's stride-by-footstep drawing guide for artists. Click below to learn more!
This post may contain chapter links.
DOWNLOAD HERE
How to Draw a Human Eye Step by Step Easy TUTORIAL
Posted by: kathyshistur.blogspot.com

Comments
Post a Comment